How to Lay Stone Border Edging: A Step-by-Step Guide
Stone border edging provides both practical function and aesthetic appeal to any garden or landscape. Whether you're defining a flowerbed, creating a clear separation between your lawn and garden, or establishing a pathway, stone borders add charm and character while helping to maintain clean lines in your outdoor space. This guide will walk you through the process of installing stone border edging, with a final professional touch using PebbleGlue to ensure lasting stability.
Benefits of Stone Border Edging
Before diving into the installation process, it's worth considering the advantages of choosing stone for your garden edging:
-
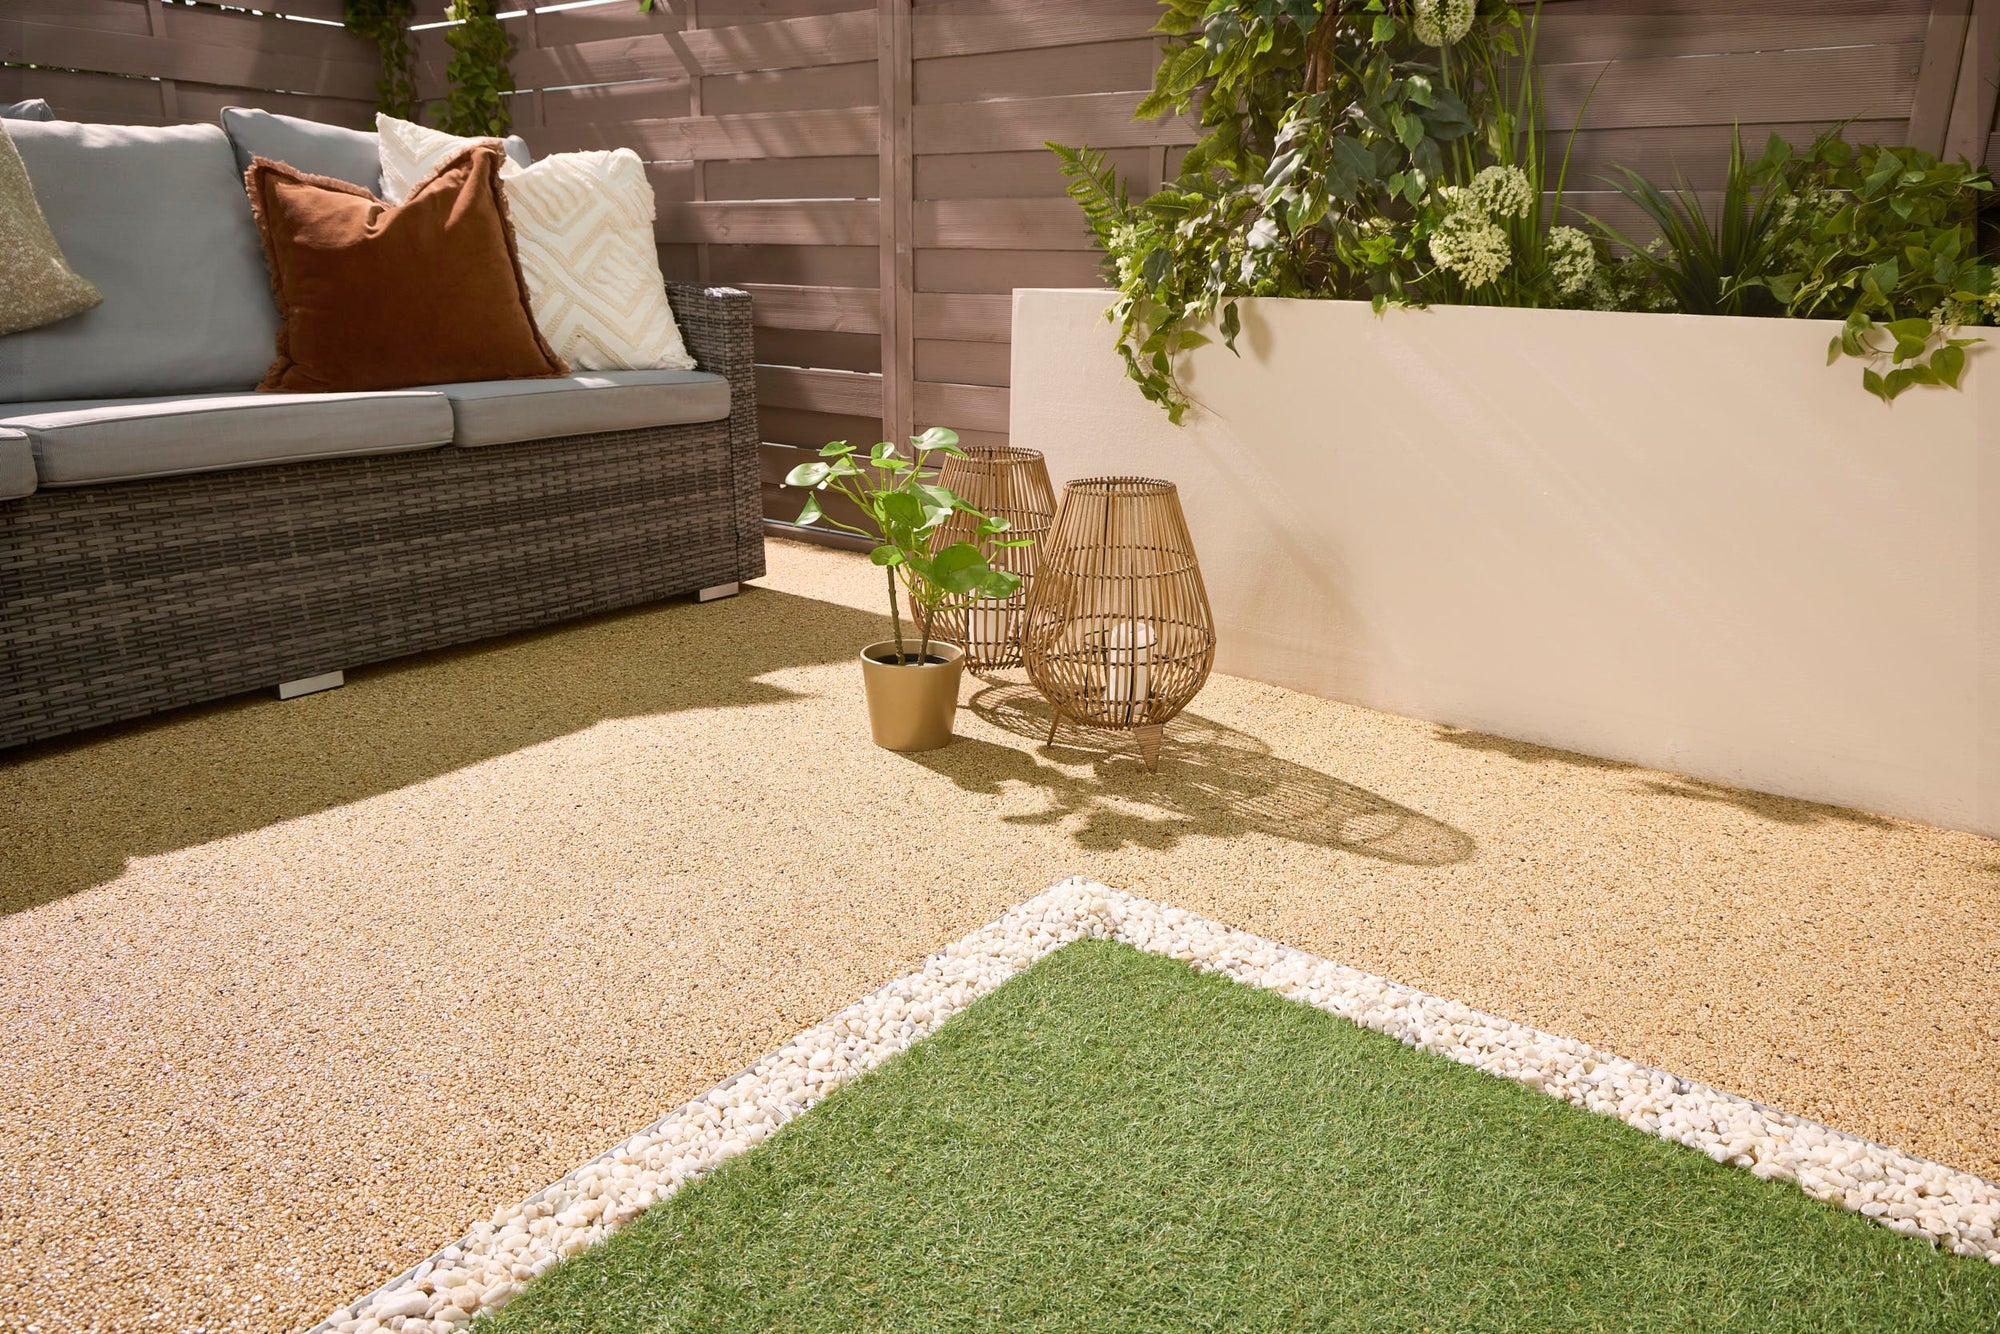
Natural aesthetic: Stone borders blend harmoniously with the landscape
-
Durability: Quality stone edging can last for decades with minimal maintenance
-
Versatility: Available in numerous shapes, sizes, and colours to suit any design
-
Flexibility: It can be adapted to create straight lines or gentle curves
-
Value: Adds curb appeal and value to your property
-
Practicality: Prevents grass invasion and contains soil and mulch
Step-by-Step Guide to Laying Stone Border Edging
1. Plan and Mark Your Border
Begin by clearly defining where your stone edging will go:
-
Use string, stakes, or a garden hose to mark out the desired shape of your border
-
For curved borders, a flexible garden hose works particularly well
-
For straight lines, use a string tied between wooden stakes
-
Stand back and view from different angles to ensure the design is pleasing to the eye
-
Consider how the border will affect mowing and maintenance
Pro tip: Avoid sharp angles that might be difficult to mow around if the border separates the lawn from beds.
2. Dig the Trench
Once your border line is established, it's time to create the foundation trench:
-
Dig a trench approximately 10-15cm deep and 15-20cm wide
-
The width should be slightly wider than your chosen stones
-
The depth will depend on the height of your stones – aim for about half the stone's height to be below ground level
-
Remove any roots, stones, or debris from the trench
-
For borders along lawns, cut the turf edge cleanly with an edging tool first
Pro tip: Save the soil you've removed in a wheelbarrow if you need to adjust the level of flower beds on either side of the border.
3. Add a Stable Base
Creating a solid foundation will ensure your stone edging remains level and stable:
-
Line the trench with landscape fabric if you're concerned about weed growth
-
Add a layer of all-purpose gravel (about 5cm) to create drainage
-
Compact the gravel firmly
-
Add a 2-3cm layer of sharp sand
-
Level the sand using a flat piece of wood dragged along the trench
Pro tip: For borders that will face heavy traffic or are on uneven ground, consider adding a thin layer of dry mortar mix beneath the sand.
4. Place the Stone Edging
Now comes the satisfying part – setting your stones in place:
-
Starting at one end, begin laying stones side by side in the trench
-
Press each stone firmly into the sand base
-
Use a spirit level to check that each stone is level both horizontally and vertically
-
Ensure adjacent stones touch each other closely
-
For curved sections, use smaller stones or specially designed curved edging pieces
-
Tap gently with a rubber mallet to set each stone securely
Pro tip: For a professional finish, ensure the tops of all stones are at a consistent height, using the spirit level to check as you go.
5. Backfill the Border
After placing all your stones, it's time to secure them from both sides:
-
Backfill the garden side of the border with soil, firmly pressing it against the stones
-
If the border adjoins a lawn, push soil from the lawn side against the stones as well
-
Compact the soil gently but firmly
Pro tip: Leave the top 1-2cm of the trench unfilled on the garden side if you plan to add mulch later.
6. Apply PebbleGlue for Superior Stability
There is nothing worse than laying a beautiful stone border, only to find the stones scattered across the garden a few weeks later. That’s why for the ultimate finish, we recommend applying our stone binder, Pebble Glue, which will prevent movement from traffic, weather and any nocturnal visitors. Unlike traditional mortar, PebbleGlue maintains a natural appearance while providing exceptional strength.
It’s super easy to install using either a spray or pour method. For more information, get out our guide on How to Apply PebbleGlue.
Pro tip: Apply PebbleGlue on a dry day with no rain forecast for at least 24 hours to ensure proper curing.
Maintenance Tips for Stone Border Edging
Once your PebbleGlue-secured stone border is in place, maintenance is minimal:
-
Periodically clean the stones with a stiff brush to remove dirt and debris
-
Check yearly for any signs of movement and address promptly
-
Remove any weeds that may emerge between or around stones
-
Apply a fresh coat of PebbleGlue every few years, if needed. However, with proper initial application, this is rarely necessary.